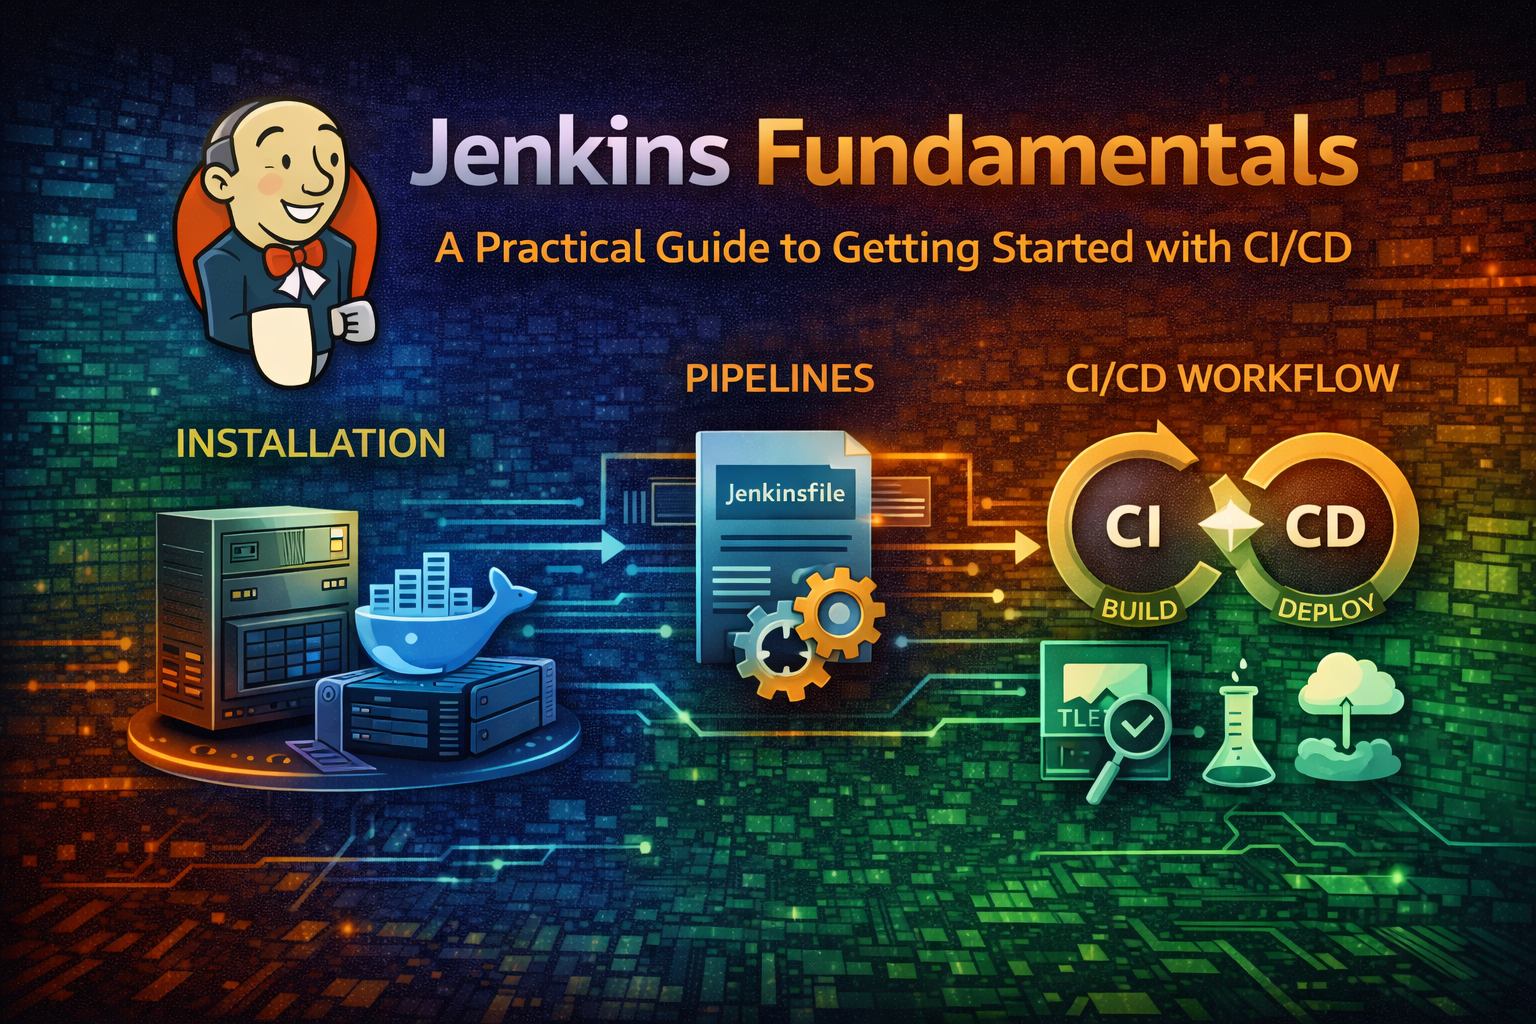
Jenkins Fundamentals - A Practical Guide to Getting Started with CI/CD
Learn Jenkins from the ground up. This guide covers installation, pipeline basics, and real-world CI/CD workflows to automate your software delivery.

#Introduction
Jenkins has become the backbone of modern CI/CD pipelines. Whether you're automating tests, building Docker images, or deploying to production, Jenkins handles the heavy lifting. But if you're new to Jenkins, the learning curve can feel steep—there are too many plugins, too many configuration options, and too many ways to do the same thing.
This guide cuts through the noise. We'll start with the fundamentals, walk through a real-world setup, and show you how to build your first automated pipeline. By the end, you'll understand how Jenkins works and be ready to implement it in your own projects.
#What is Jenkins and Why Should You Care
Jenkins is an open-source automation server. Think of it as a tireless worker that watches your code repository, runs tests whenever you push changes, builds artifacts, and deploys them to your infrastructure—all without human intervention.
Here's why it matters:
Speed: Automated pipelines catch bugs minutes after they're introduced, not days later in production.
Consistency: The same build process runs every time. No more "it works on my machine" problems.
Scalability: Jenkins distributes work across multiple agents, so your builds don't bottleneck.
Flexibility: With thousands of plugins, Jenkins integrates with virtually any tool in your stack.
The alternative? Manual testing, manual deployments, and manual mistakes. Jenkins eliminates that friction.
#Core Concepts You Need to Know
Before diving into setup, understand these foundational concepts:
#Jobs and Pipelines
A job is the basic unit of work in Jenkins. It's a set of instructions Jenkins executes. The simplest job might be "run tests on every commit."
A pipeline is a more sophisticated job that defines your entire workflow as code. Instead of clicking through the UI, you write a Jenkinsfile that describes each stage: build, test, deploy.
Pipelines are the modern approach. They're version-controlled, repeatable, and easier to debug.
#Agents
Jenkins runs on a controller (the main server) and distributes work to agents (worker machines). This separation prevents one slow build from blocking others.
Think of it like a restaurant: the controller is the manager taking orders, and agents are the chefs executing them in parallel.
#Triggers
A trigger tells Jenkins when to run a job. Common triggers include:
- Webhook: GitHub pushes a notification when code is committed
- Poll SCM: Jenkins periodically checks your repository for changes
- Manual: You click a button to start the build
- Scheduled: Jenkins runs on a cron schedule (e.g., nightly builds)
#Stages and Steps
A pipeline is divided into stages (logical phases like "Build", "Test", "Deploy"). Each stage contains steps (individual commands or actions).
#Installation and Initial Setup
#System Requirements
Jenkins runs on any system with Java installed. Here's what you need:
- Java 11 or later (Java 17+ recommended)
- 256 MB RAM minimum (1 GB+ for production)
- 1 GB disk space minimum (more for artifact storage)
- Linux, macOS, or Windows
#Installing Jenkins on Linux
The easiest approach is using your package manager:
curl -fsSL https://pkg.jenkins.io/debian-stable/jenkins.io-2023.key | sudo tee \
  /usr/share/keyrings/jenkins-keyring.asc > /dev/null
echo deb [signed-by=/usr/share/keyrings/jenkins-keyring.asc] \
  https://pkg.jenkins.io/debian-stable binary/ | sudo tee \
  /etc/apt/sources.list.d/jenkins.list > /dev/null
sudo apt-get update
sudo apt-get install jenkins
Start the service:
sudo systemctl start jenkins
sudo systemctl enable jenkins
Verify it's running:
sudo systemctl status jenkins#Docker Installation (Recommended for Development)
If you prefer containerization:
docker run -d -p 8080:8080 -p 50000:50000 \
  -v jenkins_home:/var/jenkins_home \
  -v /var/run/docker.sock:/var/run/docker.sock \
  --name jenkins \
  jenkins/jenkins:lts
This exposes Jenkins on http://localhost:8080 and allows Jenkins to spawn Docker containers for builds.
#Initial Configuration
Navigate to http://localhost:8080 (or your server's IP). Jenkins will prompt you for an unlock key:
sudo cat /var/lib/jenkins/secrets/initialAdminPasswordPaste the key, then follow the setup wizard:
- Install suggested plugins - This installs essentials like Git, Pipeline, and Blue Ocean
- Create your first admin user - Set a strong password
- Configure Jenkins URL - Use your server's actual URL (important for webhooks)
Tip
Save your admin credentials somewhere secure. You'll need them to manage Jenkins later.
#Your First Pipeline
Let's build a practical example: a pipeline that clones a Git repository, runs tests, and reports results.
#Create a New Pipeline Job
- Click New Item on the Jenkins dashboard
- Enter a name (e.g., "my-first-pipeline")
- Select Pipeline
- Click OK
#Write Your Jenkinsfile
In the job configuration, scroll to Pipeline and select Pipeline script. Paste this:
pipeline {
    agent any

    stages {
        stage('Checkout') {
            steps {
                echo 'Cloning repository...'
                git branch: 'main', url: 'https://github.com/your-org/your-repo.git'
            }
        }

        stage('Build') {
            steps {
                echo 'Building application...'
                sh 'npm install'
                sh 'npm run build'
            }
        }

        stage('Test') {
            steps {
                echo 'Running tests...'
                sh 'npm test'
            }
        }

        stage('Deploy') {
            steps {
                echo 'Deploying to production...'
                sh 'echo "Deployment would happen here"'
            }
        }
    }

    post {
        always {
            echo 'Pipeline finished'
        }
        success {
            echo 'Pipeline succeeded!'
        }
        failure {
            echo 'Pipeline failed!'
        }
    }
}
Click Save and then Build Now. Jenkins will execute each stage sequentially.
#Understanding the Pipeline
agent any: Run on any available agentstages: Define your workflow phasessteps: Commands to execute in each stagepost: Actions after the pipeline completes (success, failure, always)
The post section is crucial for notifications. You can send Slack messages, emails, or trigger webhooks on failure.
#Connecting to Git with Webhooks
Manually clicking "Build Now" doesn't scale. Let's automate it with webhooks.
#GitHub Webhook Setup
- Go to your GitHub repository → Settings → Webhooks
- Click Add webhook
- Set Payload URL to
http://your-jenkins-server:8080/github-webhook/ - Set Content type to
application/json - Select Just the push event
- Click Add webhook
#Update Your Jenkinsfile
Modify your pipeline to trigger on push:
pipeline {
    agent any

    triggers {
        githubPush()
    }

    stages {
        stage('Checkout') {
            steps {
                git branch: 'main', url: 'https://github.com/your-org/your-repo.git'
            }
        }
        // ... rest of stages
    }
}
Now, every time you push to GitHub, Jenkins automatically starts a build. No manual intervention needed.
Important
Ensure your Jenkins server is accessible from GitHub (not behind a firewall). If it's internal-only, use polling instead: pollSCM('H/5 * * * *') to check every 5 minutes.
#Common Mistakes and How to Avoid Them
#Mistake 1: Hardcoding Credentials
Wrong:
sh 'docker login -u myuser -p mypassword'Right:
withCredentials([usernamePassword(credentialsId: 'docker-hub', usernameVariable: 'USER', passwordVariable: 'PASS')]) {
    sh 'docker login -u $USER -p $PASS'
}
Store credentials in Jenkins → Manage Jenkins → Manage Credentials. Reference them by ID in your pipeline.
#Mistake 2: Ignoring Pipeline Timeouts
A hung build can block your entire pipeline. Always set timeouts:
pipeline {
    agent any
    options {
        timeout(time: 30, unit: 'MINUTES')
    }
    // ... stages
}#Mistake 3: Not Cleaning Up Workspace
Old artifacts accumulate and consume disk space. Clean up after builds:
pipeline {
    agent any
    options {
        buildDiscarder(logRotator(numToKeepStr: '10'))
    }
    // ... stages
}
This keeps only the last 10 builds.
#Mistake 4: Treating Logs as Temporary
Jenkins logs are your debugging lifeline. Don't delete them. Instead, archive important artifacts:
post {
    always {
        junit 'test-results/**/*.xml'
        archiveArtifacts artifacts: 'build/**', allowEmptyArchive: true
    }
}#Best Practices for Production Jenkins
#Use Declarative Pipeline Syntax
Declarative pipelines are easier to read and maintain than scripted pipelines. Stick with the syntax shown in this guide.
#Version Control Your Jenkinsfile
Store your Jenkinsfile in your Git repository, not in Jenkins UI. This way, pipeline changes are tracked and reviewable:
cat > Jenkinsfile << 'EOF'
pipeline {
    agent any
    stages {
        stage('Build') {
            steps {
                sh 'make build'
            }
        }
    }
}
EOF
git add Jenkinsfile
git commit -m "Add CI/CD pipeline"
git push
Then in Jenkins, select Pipeline script from SCM and point to your repository.
#Implement Parallel Stages
Speed up builds by running independent stages in parallel:
pipeline {
    agent any
    stages {
        stage('Test') {
            parallel {
                stage('Unit Tests') {
                    steps {
                        sh 'npm run test:unit'
                    }
                }
                stage('Integration Tests') {
                    steps {
                        sh 'npm run test:integration'
                    }
                }
                stage('Lint') {
                    steps {
                        sh 'npm run lint'
                    }
                }
            }
        }
    }
}
All three stages run simultaneously, cutting build time significantly.
#Use Blue Ocean for Visualization
Blue Ocean is Jenkins' modern UI. Install it via Manage Jenkins → Manage Plugins → search "Blue Ocean". It provides:
- Visual pipeline representation
- Better error reporting
- Easier debugging
#Set Up Notifications
Notify your team of build failures:
post {
    failure {
        slackSend(
            color: 'danger',
            message: "Build failed: ${env.JOB_NAME} #${env.BUILD_NUMBER}"
        )
    }
    success {
        slackSend(
            color: 'good',
            message: "Build passed: ${env.JOB_NAME} #${env.BUILD_NUMBER}"
        )
    }
}
Install the Slack plugin first, then configure your workspace token in Jenkins credentials.
#When NOT to Use Jenkins
Jenkins is powerful, but it's not always the right tool:
Use Jenkins when:
- You need complex, multi-stage workflows
- You have diverse tooling that needs integration
- You want self-hosted, full control
- Your team is already familiar with it
Consider alternatives when:
- You want minimal setup overhead → GitHub Actions, GitLab CI
- You're building simple, single-language projects → Cloud-native CI/CD
- You need serverless, pay-per-use pricing → AWS CodePipeline, Azure Pipelines
- Your team prefers managed services → CircleCI, Travis CI
Jenkins shines in enterprise environments with complex requirements. For simpler projects, lighter alternatives might be better.
#Next Steps
You now understand Jenkins fundamentals. Here's your action plan:
- Install Jenkins using Docker or your package manager
- Create your first pipeline using the example in this guide
- Connect to GitHub with webhooks
- Add notifications so your team knows when builds fail
- Explore plugins relevant to your stack (Docker, Kubernetes, AWS, etc.)
- Read the official documentation at jenkins.io for advanced topics
Jenkins has a steep learning curve, but the payoff is massive. Automated pipelines save time, catch bugs early, and give you confidence in your deployments. Start small, iterate, and gradually add complexity as you grow.
The journey from manual deployments to fully automated CI/CD is worth it. Jenkins is your vehicle.